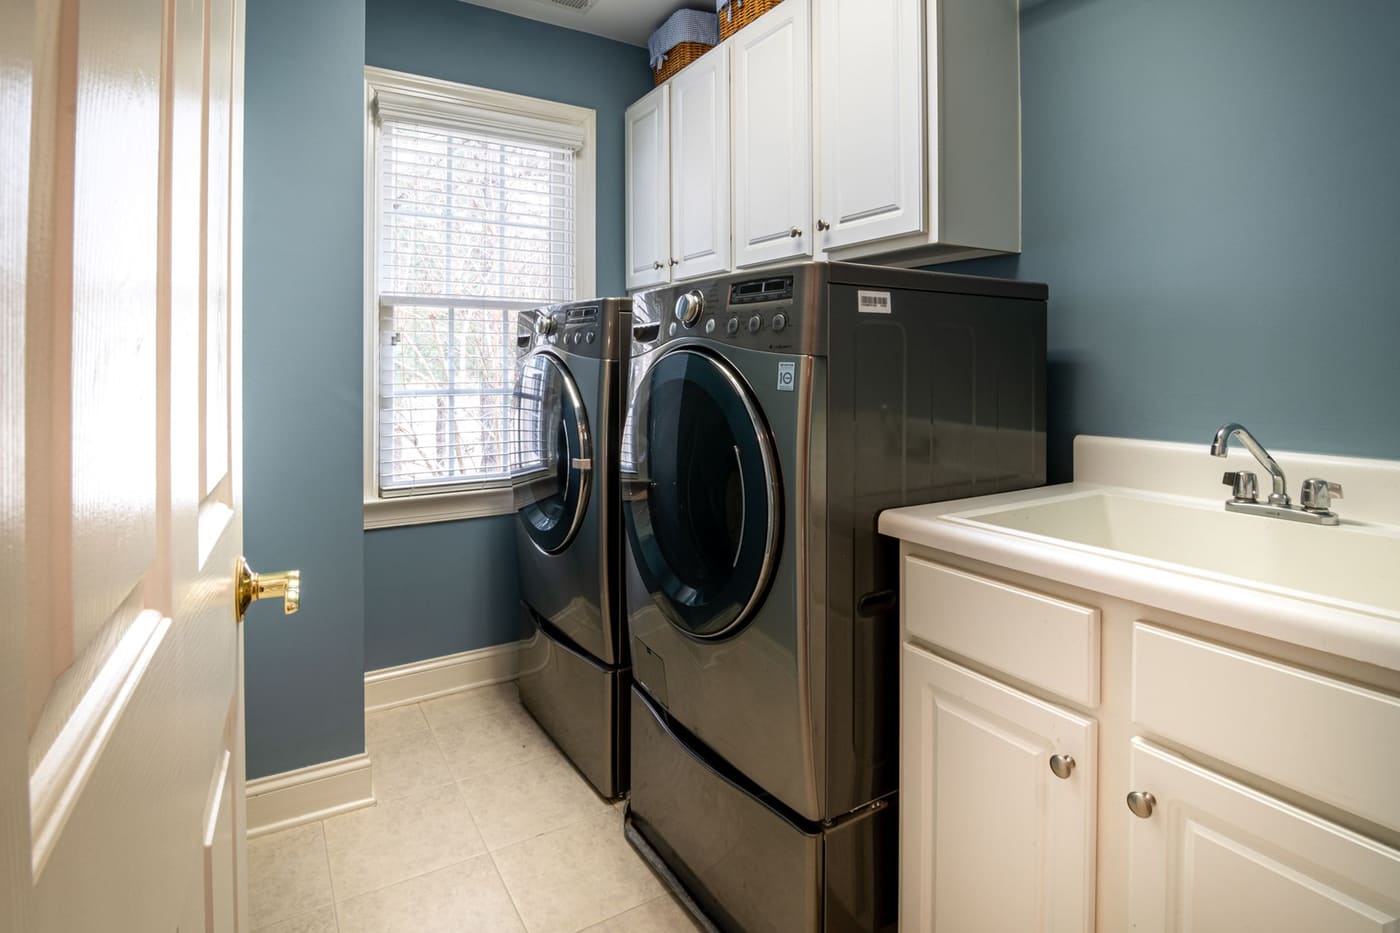
You keep a washer and dryer working longer by controlling three things: moisture (leave the door open, wipe the seal), residue (use the right amount of detergent and run a cleaning cycle monthly), and airflow (empty the lint trap every load and clear the vent duct at least once a year). Most breakdowns, bad smells, and dryer fires trace back to one of those three.
The good news is that none of this takes long. Five minutes a week plus an hour or so twice a year covers it. Below is a routine you can follow, with the reasons behind each step, plus the point where DIY ends and a pro should take over.
Why small upkeep matters
Replacing a washer and dryer is a large expense, and care is what lets them last as long as they can. Detergent film, lint, hard-water scale, and trapped dampness do not stop a machine on day one. They slowly make it smell, clean worse, run longer, and work harder.
The dryer deserves the most attention because lint is flammable. The U.S. Consumer Product Safety Commission (CPSC) notes that fires can start when lint builds up in the dryer or its exhaust duct and restricts airflow, so airflow maintenance is a safety job as much as a performance one.
Washer habits that prevent most problems
Use less detergent than you think
Too much detergent does not mean cleaner clothes. Extra suds cushion the clothes against the drum, so they get less mechanical cleaning, and the leftover soap settles into the drum, hoses, and gasket as a slimy film that feeds odor-causing bacteria. High-efficiency (HE) machines use little water, so they need low-sudsing HE detergent and a small dose. Follow the line on the cap for a normal load, and drop to the lower line for lightly soiled loads or soft water.

Do not overload
A drum packed to the top cannot tumble clothes through the water. You get poor rinsing, more wear on the bearings and suspension, and an unbalanced load that bangs around in the spin.
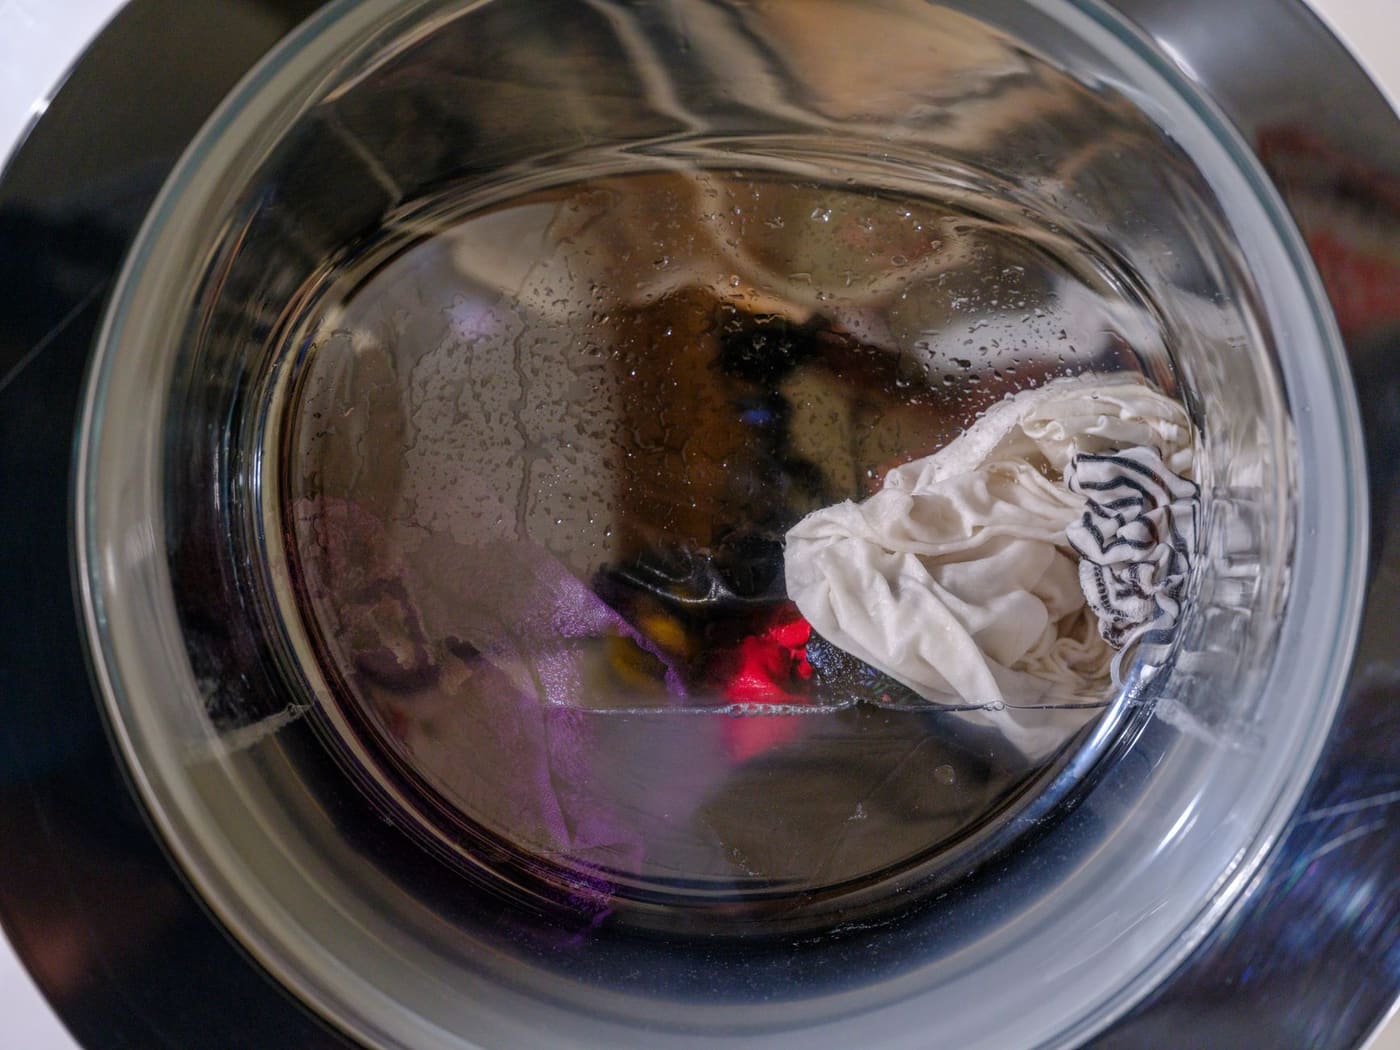
A good rule for a front loader is a hand-width of space at the top of the drum. For a top loader with an agitator, keep clothes below the top row of agitator holes.
Leave the door open between loads
Moisture is the root of most washer odor. After the last load of the day, leave the door of a front loader ajar and prop the lid on a top loader. Pull the detergent drawer out partway so it can dry as well. This costs nothing and does more for smell prevention than any cleaner.
Wipe the gasket
On a front loader, fold back the rubber door seal and look. Hair, lint, and gray or black film collect in the folds. Wipe it with a cloth dampened with a little dish soap and warm water, then dry it. Do this weekly, or every few loads if you wash a lot of towels and workout clothes. If black spots keep returning, wipe them with a cloth and diluted household bleach, with the room ventilated and gloves on.
Run a monthly cleaning cycle
Roughly once a month, run an empty hot cycle to strip residue. Manufacturers differ on which cleaner they approve, so check your manual first. Pick one option at a time, never combining them.
- Washer cleaner tablet or powder. Follow the package directions, usually one tablet in the drum on the hottest or “tub clean” cycle.
- Chlorine bleach. Pour about 1 cup into the detergent compartment on a hot cycle with an empty drum, then run an extra rinse.
- White vinegar. Some people use 2 cups of white vinegar in an empty hot cycle. Check your manual first, since some manufacturers advise against frequent vinegar use on rubber parts.
Never mix bleach with vinegar, ammonia, or any acidic or ammonia-based cleaner. The CDC warns that these combinations release toxic gases (chlorine or chloramine). If you want to try both products, run them on different days with a plain rinse cycle in between, or simply stick to one. Open a window or run a fan, and wear gloves.
Many newer machines have a built-in “clean washer” or “tub clean” cycle. Use it, because it is designed for that machine’s drum and water levels.
Check hoses, filters, and the drain
Some upkeep happens a couple of times a year.
- Inlet hoses. Look for bulges, cracks, and weeping at the connections. A commonly given rule of thumb is to replace rubber hoses about every 5 years, and braided metal hoses are a common upgrade, but your manual is the better guide. Turning the water supply off when you leave for a long trip lowers flood risk.
- Inlet screens. Small mesh screens where hoses connect can clog with sediment and slow filling. Shut off the water, disconnect, rinse the screen, and reattach.
- Drain pump filter. Many front loaders have a small access panel at the lower front. A coin, sock, or bra underwire can sit in there. Place a shallow pan and towels underneath, because a cup or more of water will come out, and open it slowly.
- Level and feet. A machine that walks or vibrates is usually not level. Adjust the leveling feet until the machine does not rock when you push on the top corners.
Check pockets before every load. Coins, pens, tissues, and keys damage drums and block drains.
Dryer care: lint, venting, and heat
Clean the lint trap every load
Pull the screen, remove the lint, and give it a quick look. Roughly once a month, wash the screen with warm water and a soft brush. Fabric softener residue and dryer sheets can leave a waxy film on the screen that blocks airflow even when the lint looks gone. Test it by running water over the screen. If the water pools on top instead of draining through, wash it with dish soap and scrub gently.
Clear the vent duct
Lint also builds up in the duct between the dryer and the outside wall. Once a year is a common rule of thumb for clearing it, and sooner if you see signs of trouble. The CPSC lists clothes that are still damp at the end of a normal cycle, or drying that takes longer than it used to, as signs that the lint screen or exhaust duct may be blocked. Others are a dryer or laundry room that feels unusually hot, a burning smell, or an outside vent flap that barely lifts while the dryer runs.
Basic vent care on an electric dryer looks like this:
- Unplug the dryer.
- Pull the dryer out gently and loosen the clamp holding the duct to the back of the dryer.
- Vacuum the duct and the dryer outlet with a hose attachment, or use a dryer vent brush kit.
- Clear the outside hood.
- Reconnect, check that the duct is not crushed, and push the dryer back without kinking it.
The CPSC advises replacing plastic or foil accordion-type ducting with rigid or corrugated semi-rigid metal duct, because the flexible kind traps lint more easily and is more prone to kinks or crushing that cut airflow. Shorter and straighter is better, so keep the run as direct as possible. If you have a gas dryer, do not move it far enough to strain the gas connection, and leave the gas line alone entirely.
Match the load to the dryer
Overstuffing the dryer slows drying and puts extra strain on the machine. A common rule of thumb is to fill the drum no more than about half to two-thirds with wet clothes, so everything can tumble freely. Do not run the dryer on high for lightweight loads that would finish at medium. If your dryer has a moisture sensor, many manuals suggest wiping the sensor bars (small metal strips inside the drum) every few months, since residue can fool them into ending cycles early or running long. Check your manual for the approved cleaner.
If clothes still smell off after a full cycle, the cause might be a damp machine or a build-up of residue, and the article on why clothes still smell bad after washing goes through that in more detail. Heat is also hard on fabrics, so see what clothes should never go in the dryer. For a printable routine, the tools page includes a washer and dryer maintenance checklist that collects the basics in one place.
A simple maintenance schedule
| Frequency | Task |
|---|---|
| Every load | Check pockets, clean lint screen, leave washer door open afterward |
| Weekly | Wipe the front-loader gasket and detergent drawer area |
| Monthly | Run a cleaning cycle, wash the lint screen if it has film |
| Every 3 to 6 months | Check hoses, clean inlet screens, wipe dryer moisture sensor, check level |
| Yearly | Clean dryer vent duct and outside hood |
| About every 5 years | Replace rubber water hoses (rule of thumb) |
The washer and dryer maintenance checklist puts this on one printable page.
When to call a pro
DIY stops at a few points.
- Gas dryers. Do not disconnect, adjust, or repair gas lines. If you smell gas, leave the house and call the gas utility from outside. Gas connections and venting need a licensed technician.
- Electrical faults. A tripping breaker, sparking, a burning smell from the motor, or a scorched plug calls for an appliance technician or electrician. Do not open panels on a plugged-in machine.
- Long or hidden vents. If your duct runs through walls or the roof, or is very long, a professional vent cleaning is usually the safer route. The CPSC also suggests having a qualified service person clean the inside of the dryer cabinet periodically, since lint collects there too.
- Persistent leaks, grinding noises, or error codes. Get a quote before deciding. On an older machine with a major part failure, replacement may make more sense than repair.
Local codes vary on venting and installation, so a pro can confirm what applies where you live.
Where this comes from
This guide draws on the U.S. Consumer Product Safety Commission’s clothes dryer fire safety guidance (lint screen, vent duct and duct material), the CDC’s warnings about mixing bleach with ammonia or acids, and common manufacturer care guidance for washers and dryers. Intervals such as monthly cleaning and replacing hoses every few years are rules of thumb, so follow your own manual where it differs. Prices and service costs change, so check them locally.